Learning how to remove a shower drain takes about five minutes if you only need the cover off, and a full Saturday if the drain body has to come out too. Which job you are facing depends on your cover type and what your shower pan is made of. Figure that out first, because forcing the wrong cover is how a cleaning job turns into a pan replacement.
Start Here: Match Your Cover to the Right Method
Look at the rim of the grate before you touch anything. Visible screws, a notch, a lifting tab, or a flush tiled edge each point to a different removal method.
| Cover type | How it comes off | Tool you need | Difficulty |
|---|---|---|---|
| Screw-in grate | Back out 1 to 2 screws, lift straight up | Phillips or flathead screwdriver | Easy |
| Snap-in / push-fit | Pry evenly around the perimeter | Flathead screwdriver, cloth | Easy |
| Twist-off strainer | Turn counterclockwise while holding the base | Drain key or needle-nose pliers | Easy |
| Tile-in | Lift both sides off the drain body together | Two flathead screwdrivers | Moderate |
| Linear grate | Lift out, or release a hidden set screw first | Fingers or hex key | Easy to moderate |
| Silicone-sealed or grouted | Score the seal first, then lift | Utility knife, then the above | Moderate |
Screw-In Drain Covers
Screw-in covers are the most common type in older homes.
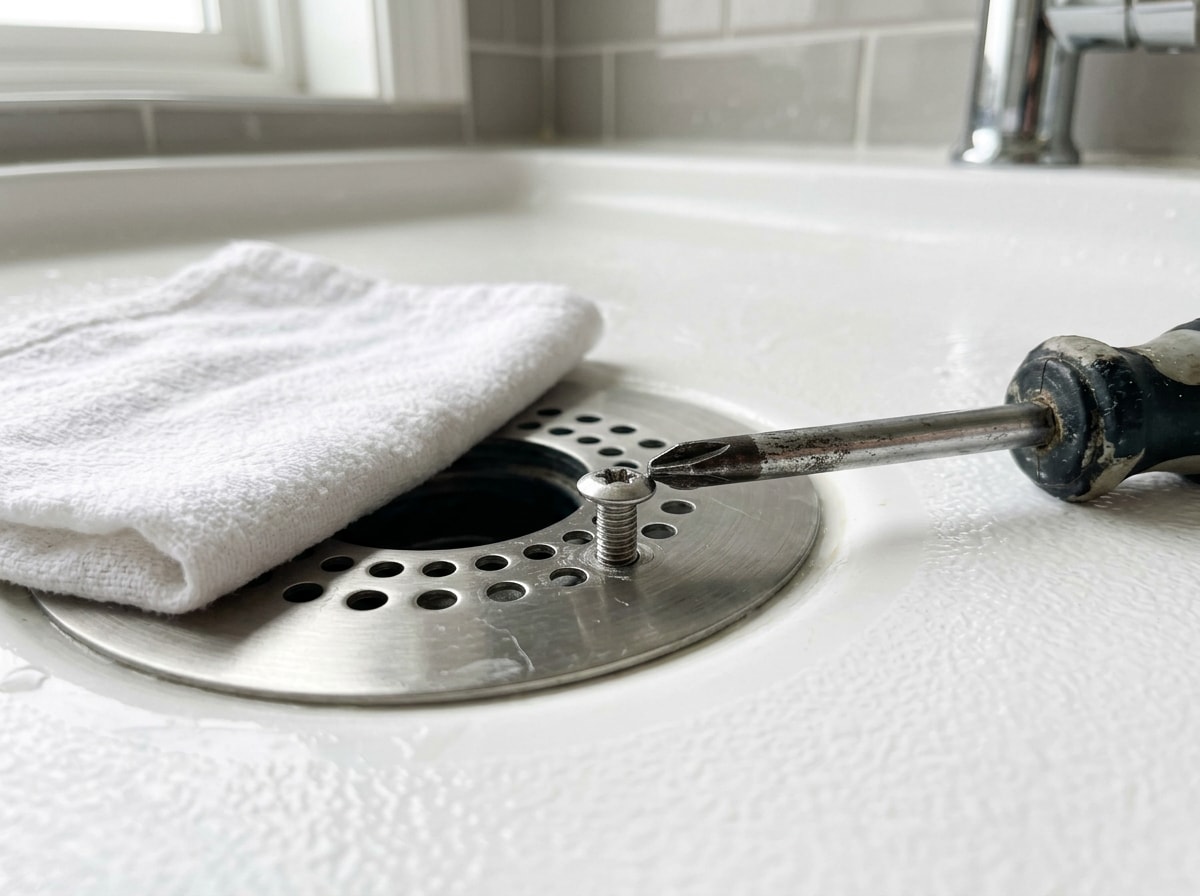
- Clear hair and soap scum off the screw heads so the driver seats flush.
- Tape a rag over the open pipe so a dropped screw cannot vanish down the trap.
- Turn each screw counterclockwise until loose.
- Lift the cover straight up, wiggling gently if it sticks.
If the screws are rusted solid, spray penetrating lubricant and wait fifteen minutes before trying again. When the heads are already chewed up, a drill with a screw extractor bit backs them out without wrecking the grate.
Snap-In and Push-Fit Covers
These have no screws, but that does not mean they lift out easily.
Check the rim for a tab or raised lip you can grip with your fingers first. If that fails, slide a flathead screwdriver under the lip with a cloth underneath to protect the pan finish.
Technique beats force here. Work around the perimeter in stages, lifting a little at each point, rather than levering hard on one side. A cracked push-fit cover or a distorted drain body turns a ten minute clean-out into a parts run.
Twist-Off and Threaded Strainers
Hold the drain base steady and turn the top counterclockwise.
If it will not move by hand, hook a drain key through one of the grate openings and pull up gently while turning. Needle-nose pliers spread across two openings work the same way. Once the threads break free, finish by hand so you do not cross-thread anything.
Tile-In and Linear Grates
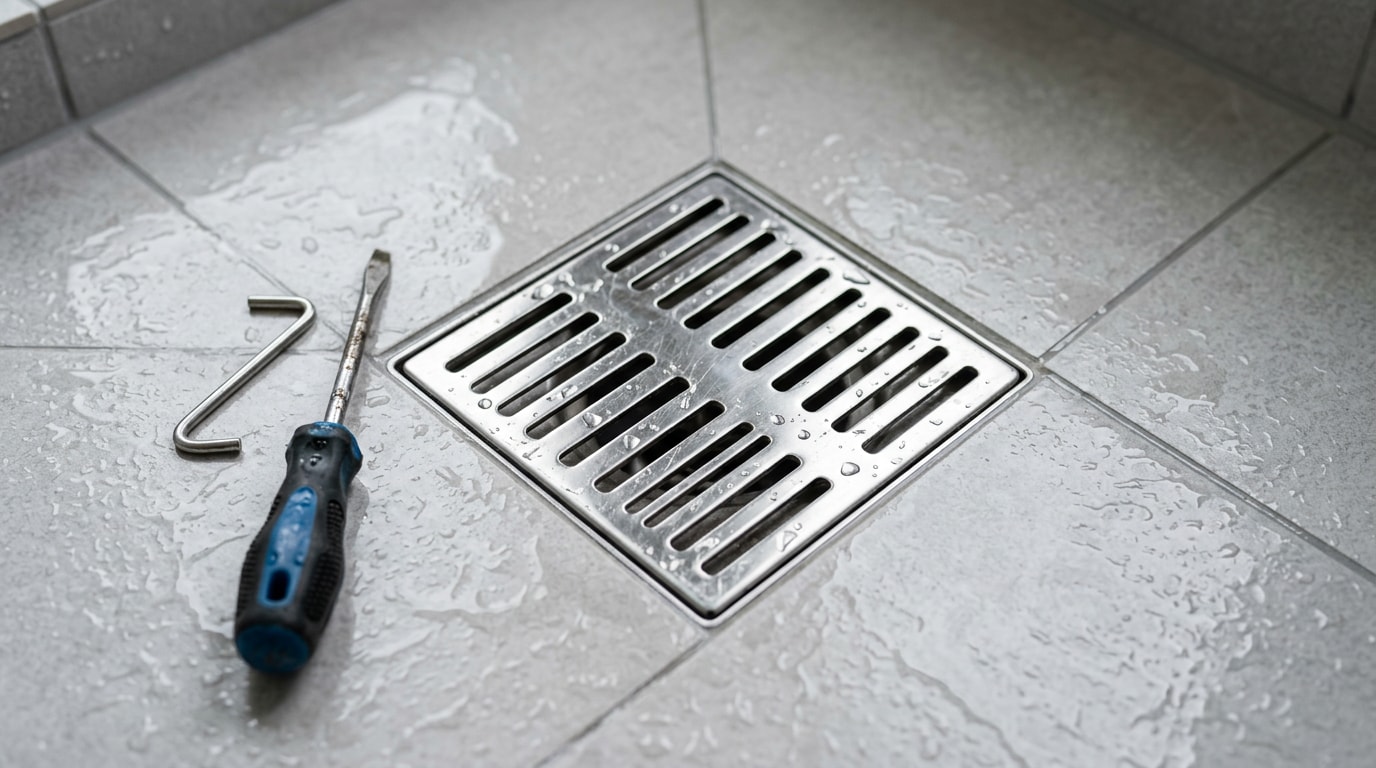
Tile-in covers need patience. Slide two flathead screwdrivers under opposite sides and lift both together so the cover comes off the drain body level instead of binding on one corner.
Most linear grates simply lift out. Some brands hide a small set screw at one end of the channel, so check both ends with a flashlight before you pull hard.
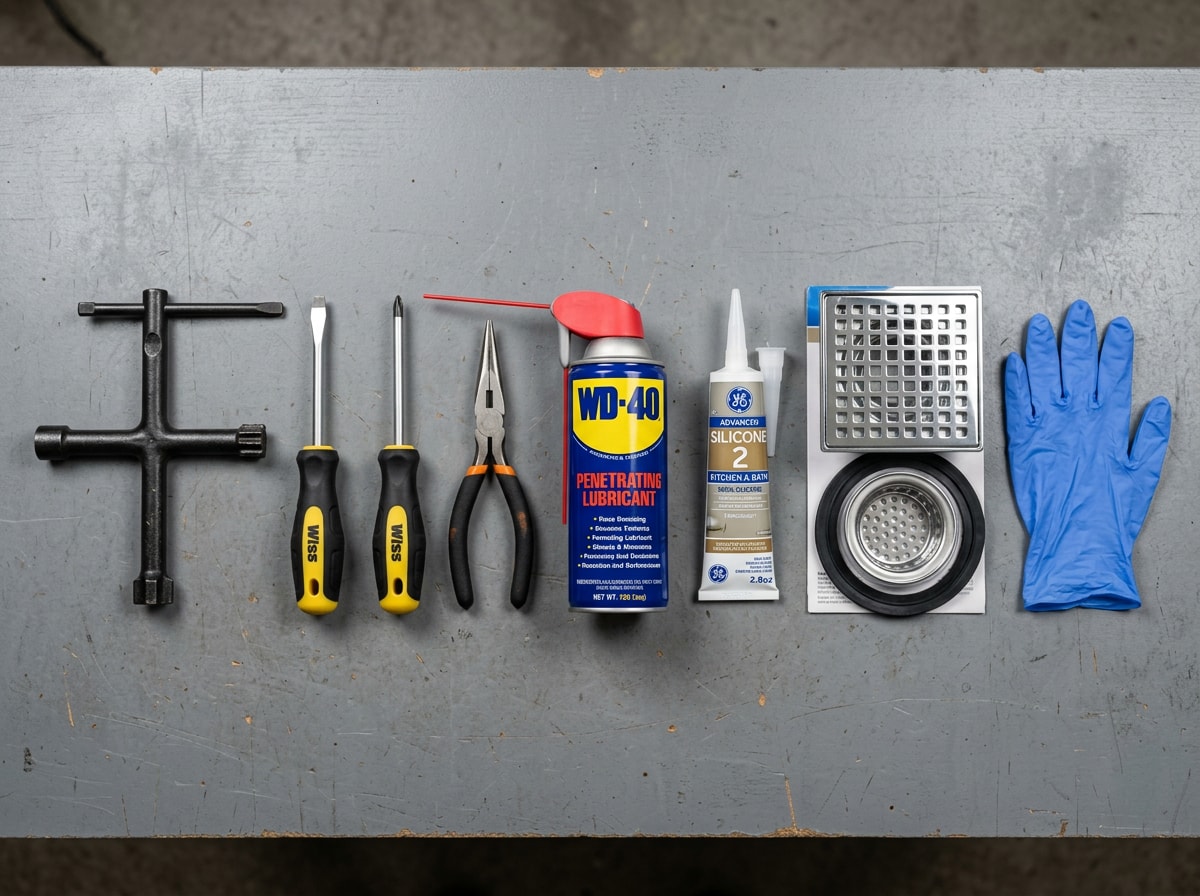
Tools and Materials
Split your shopping into two tiers so you do not buy a full drain kit for a cleaning job.
Cover removal only:
- Phillips and flathead screwdrivers
- Drain key or lift hook, plus needle-nose pliers
- Penetrating lubricant for seized screws
- Putty knife or thin pry bar
- Utility knife for silicone-sealed covers
- Rags and rubber gloves
Full drain removal adds:
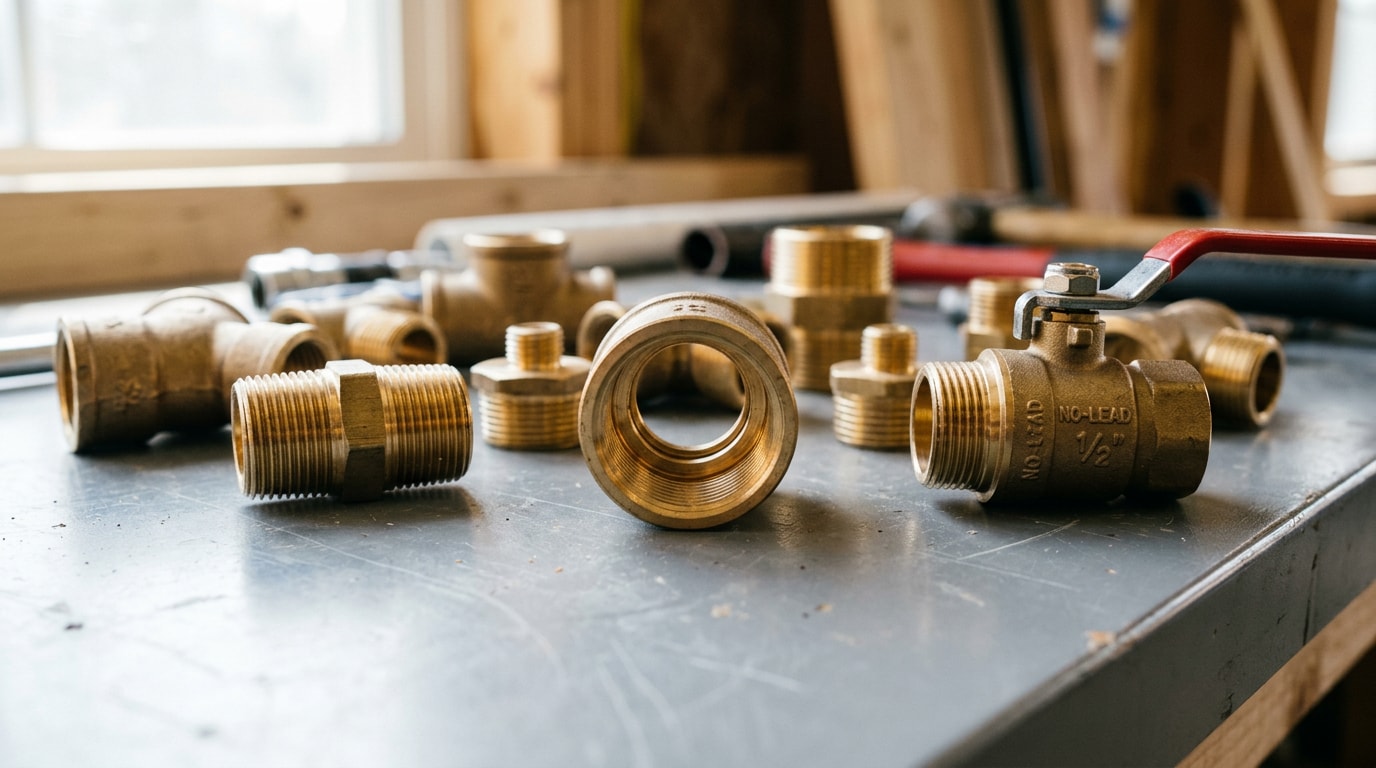
- A complete drain kit: cover, hair strainer, drain body, coiled flange, gasket
- A thread adapter if the flange is undersized for the opening
- 100 percent silicone, or the sealant the pan manufacturer specifies
- A hammer for the locknut crowns
Why You Would Pull the Drain Apart
Most people stop at the cover. Hair and soap scum build up in the strainer, water pools, and a five minute clean-out fixes it. If the clog sits deeper than the strainer basket, that becomes a drain cleaning) problem instead.
The reasons to pull the whole assembly run deeper:
- A stain spreading on the ceiling below the bathroom, which points to a leak repair) job
- A cracked or corroded drain body that has not failed yet but will
- A shower pan or base being replaced during a bathroom remodel)
Confirm the water is actually coming from the drain before you take anything apart. A loose trap joint, a failed pan liner, or a bad shower valve escutcheon can mimic a drain leak convincingly. We have opened ceilings twice in the same week where the real culprit was the shower arm, not the drain.
How to Remove the Drain Body and Locknut
This is the full removal route, and it is easier to describe than to do. Corroded fittings and cramped working space are the reality.
Start below the shower, not above it.
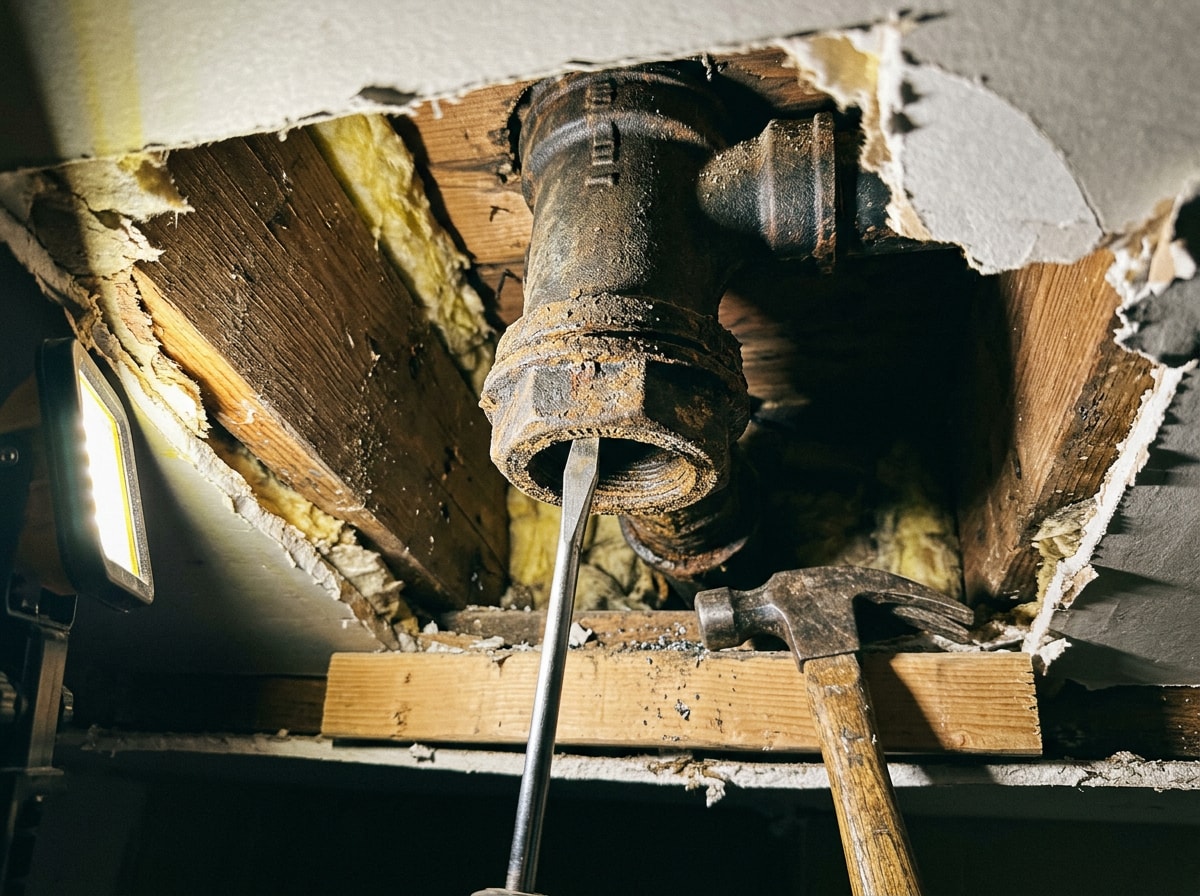
- Cut an access hole in the ceiling drywall beneath the drain, large enough to get both hands in.
- Remove all water-damaged and moldy material while the ceiling is open.
- Locate the locknut holding the drain body to the pan.
- Set a screwdriver tip against one of the raised crowns on the nut and tap it counterclockwise with a hammer.
- Keep tapping until the nut turns by hand, then unscrew it fully.
- Pry out the rubber gasket underneath and push the drain body up and out.
If the leak came from a loose or corroded locknut, replace the whole drain rather than retightening. Half measures on a corroded nut strip the crowns, and then the nut has to be cut out.
Do not let a wet ceiling sit while you shop for parts. The EPA's guidance on moisture control is blunt about the timeline: water-damaged areas and items should be dried within 24 to 48 hours to prevent mold growth .
Not interested in cutting into a finished ceiling? Our plumbing team does the below-floor work daily. Get a free estimate before the drywall comes down.
How to Replace a Shower Drain From the Top
With a plastic or fiberglass base, you can often do the whole swap from inside the stall.
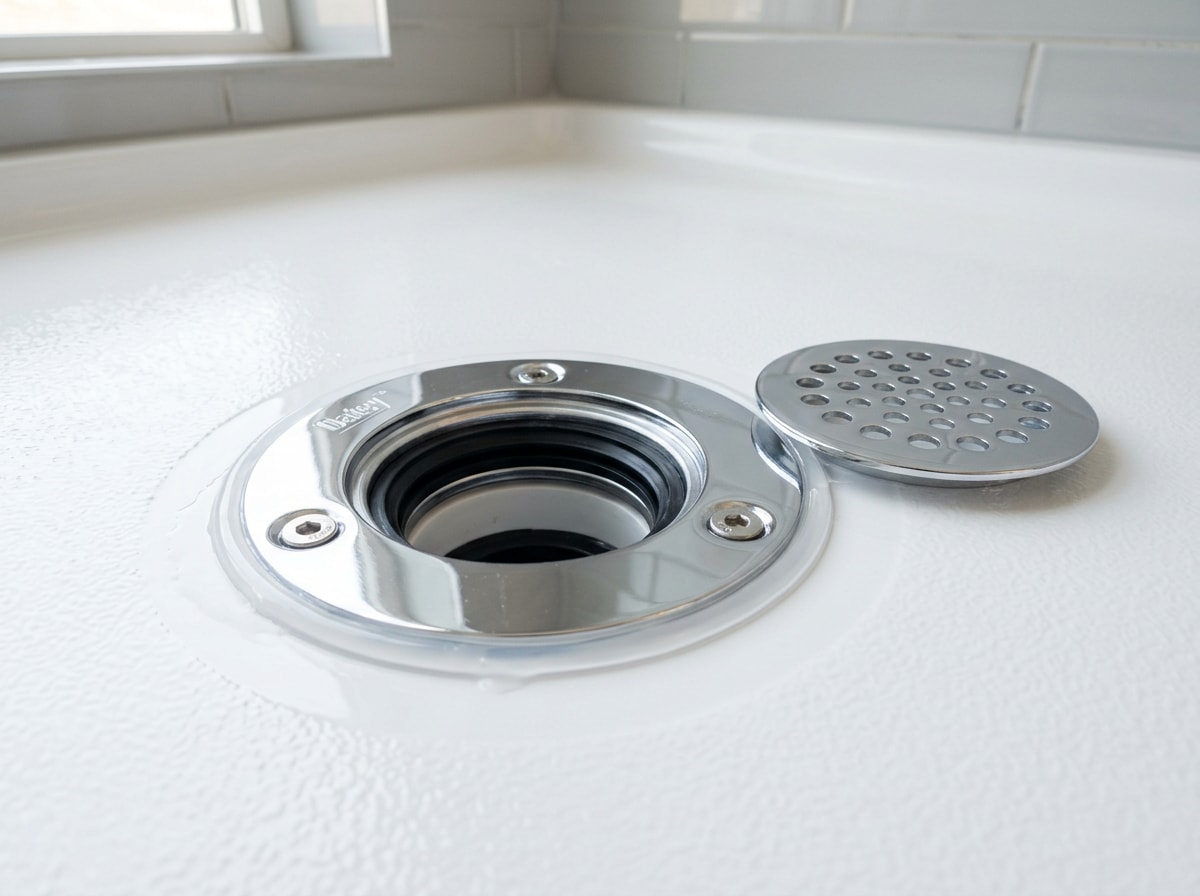
The hardware is what makes that possible. A compression-style drain seals against the pan by squeezing a gasket rather than relying on a locknut you can only reach from below. An above-access drain uses anchor screws tightened from inside the shower, which is why it is the one type installable without going underneath.
- Pry off the strainer, removing any retaining screw first.
- Clean the old sealant off the pan opening completely.
- Seat the new drain body over the waste pipe and press the flange flat to the pan.
- Tighten the anchor screws a few threads at a time, working around the circle.
- Stop when sealant squeezes out evenly all the way around and the screws turn hard.
- Wipe the excess away immediately.
Run water right away to check for seepage around the flange. Anything that weeps at this stage means the gasket is pinched or the flange is not sitting flat.
Plumber's Putty or Silicone? The Detail Most Guides Get Wrong
Almost every shower drain article tells you to roll a rope of plumber's putty under the flange. On an acrylic or ABS base, that advice can damage the fixture.
The manufacturer is explicit about it. Oatey states that plumber's putty can have an adverse effect on an acrylic finish, similar to its effect on ABS materials, and that 100 percent silicone should be used for that application . Their technical guidance also warns that putty on plastic components, particularly acrylic and ABS, can affect the integrity of the material and lead to product failure .
Practical rule:
- Cast iron, steel, china, stainless: standard plumber's putty is fine.
- Granite, marble, quartz, Corian: use a stain-free putty or silicone.
- Acrylic, ABS, fiberglass bases: 100 percent silicone, per the manufacturer's own guidance.
Check the Outlet Size Before You Buy the Replacement
Match the new drain to the existing waste pipe diameter. Two inches is the common residential standard, but it is not a universal code number.
The 2024 International Plumbing Code sets the floor at 1 1/2 inches for shower waste outlets, with removable strainers not less than 3 inches in diameter , while amended local codes in cities such as New York require not less than 2 inches . Check the adopted plumbing code and any local amendment for your town before ordering parts, especially if you are also touching the trap arm or doing pipe replacement).
What It Costs
| Scope | Typical DIY parts cost | Typical pro cost |
|---|---|---|
| Cover or strainer replacement | $10 to $35 | Usually bundled with a service call |
| Full drain swap, plastic base, top access | $20 to $60 | $150 to $350 |
| Tile pan drain, ceiling access required | Not a DIY job for most | $400 and up, plus drywall repair |
Treat these as ranges, not quotes. Pricing moves with region, pan type, and whether a ceiling or subfloor has to be opened.
When to Call a Plumber
Stop and call if any of these apply:
- The cover or flange will not move after lubricant and correct technique. A punctured waterproofing membrane costs far more than a service call.
- You have a tile or stone shower with a leaking drain. Above-access compression drains are built for plastic and fiberglass bases.
- Water shows up on the ceiling but the drain itself is dry, which points at the trap, a branch line, or the sewer line).
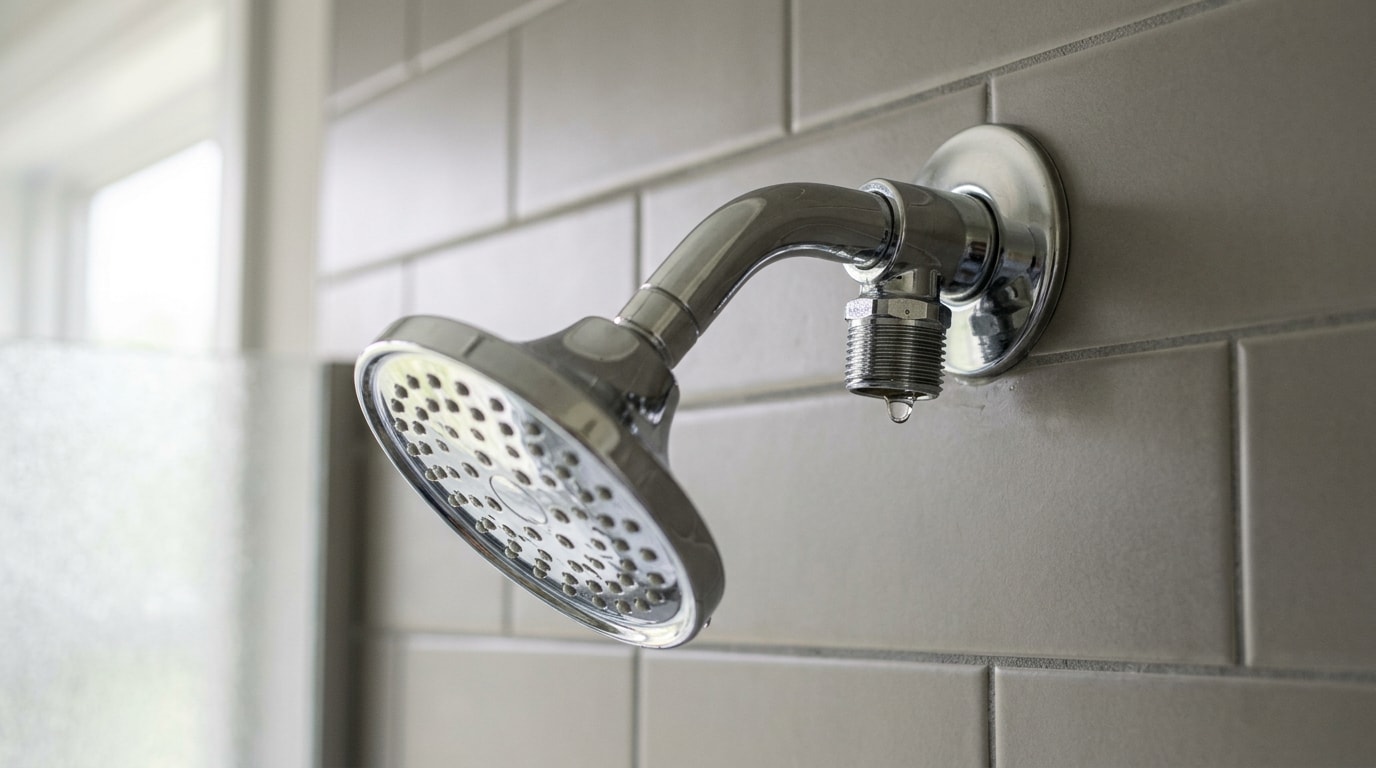
- The shower head is also dripping, which is a separate fix covered in our guide to fixing a leaking shower head.
We work throughout northern and central New Jersey, including Westfield and Morristown. See the full service list on our home page or contact us for a free estimate.
FAQ
Can all shower drain covers be removed?
Nearly all of them, but not equally easily. Covers sealed in with silicone or grouted into surrounding tile need the sealant scored with a utility knife first. Force applied before that step cracks tile or chips the grate.
How do you remove a shower drain cover without screws?
Identify the mechanism, then match the method. Snap-in and friction-fit grates pry up evenly around the perimeter with a flathead screwdriver. Threaded and lift-and-turn strainers unscrew counterclockwise, often needing a drain key for grip.
What tool removes a stuck shower drain?
A drain key, sometimes sold as a tub drain extractor or drain wrench, is the right tool. It seats inside the crossbars and lets you apply torque with a wrench instead of levering on the grate edge. Needle-nose pliers are the improvised version.
Can a shower drain be replaced without tearing up the floor?
With a fiberglass or acrylic base, usually yes, using an above-access compression drain fitted from inside the stall. A leak in a custom tile shower normally requires cutting the ceiling or subfloor below to reach the locknut.
Should I use plumber's putty on a shower drain?
Only on the right material. Use 100 percent silicone on acrylic and ABS bases, since putty can damage the finish. Standard putty is fine on metal and vitreous china fixtures.
How do you remove a linear shower drain cover?
Lift the grate straight out of the channel. If it resists, look for a small set screw at one end of the channel body and back it out with a hex key before lifting again.
How much does shower drain replacement cost?
A drain kit runs roughly $20 to $60 for a DIYer, and a plumber typically charges about $150 to $350 for a straightforward swap. Costs climb once a ceiling or subfloor has to be opened for access.